Spoon Carving. It seems to be taking the Western World by storm.
What is driving this phenomenon? I believe there are several things converging to give such life and vibrancy to the delightful craft of carving spoons. It is all about our need to re-connect with the natural world, with ourselves and with one another in our increasingly disconnected world.
Let me explain this a bit more to you:
- We seek to re-engage with natural materials and the environment.
The plastic tide is turning. There is a move against plastic - now that we are learning about the long-term prognosis. Plastic does not break down into nothing, It never goes away. The particles just get small enough to pollute every aspect of the planet including the food chains and our bodies. Every piece of plastic which has ever been produced still exists.
Plastic is derived from the fossil fuel industry, which is increasingly "on the nose" as an energy source as the reality of human induced climate change slowly dawns on the masses, despite the efforts of the fossil fuel industry and its supporters claiming it to be nonsense. In contrast, trees grows through solar energy, which is embodied in the wood giving it the calorific value so valued by humanity through the ages as an energy source. About 50% of wood by weight is Carbon, captured from the air via photosynthesis. Trees are full of sequestered carbon. We need more wood in our lives again and less of those high energy/high carbon materials which are being forced upon us.
We are surrounded by non-organic materials, trendy minimalism in our homes (all those bare white walls and surfaces are really very boring, bleak and soul-less), and a lack of natural organic materials. Aluminium, steel, glass, plastics and concrete, which all figure predominantly in modern houses and public buildings, are all high energy materials. Wood, by contrast, is an incredibly low-energy material. It is renewable and recyclable, a good thermal insulator and with wonderful acoustic properties. It is not all the same, with natural variability in appearance, properties, and character. Wood has life.
We are learning the health and well-being benefits of being in the outdoors, of spending time in forests, and breathing forest air rather than the stale and at times toxic air in our buildings. Recent studies have shown the reduction in stress - the calming effects - of having wooden panels and furniture and indoor plants in our public buildings, offices and homes.
In the midst of this growing disillusionment with the harsh and soulless world of plastics and artificial materials, hand crafts of all types are thriving. People are knitting and crocheting, doing pottery and sewing. They are basket weaving, blacksmithing, and working with wood. Spoon Carving is one of these heritage crafts experiencing a massive resurgence of interest in the Western World.
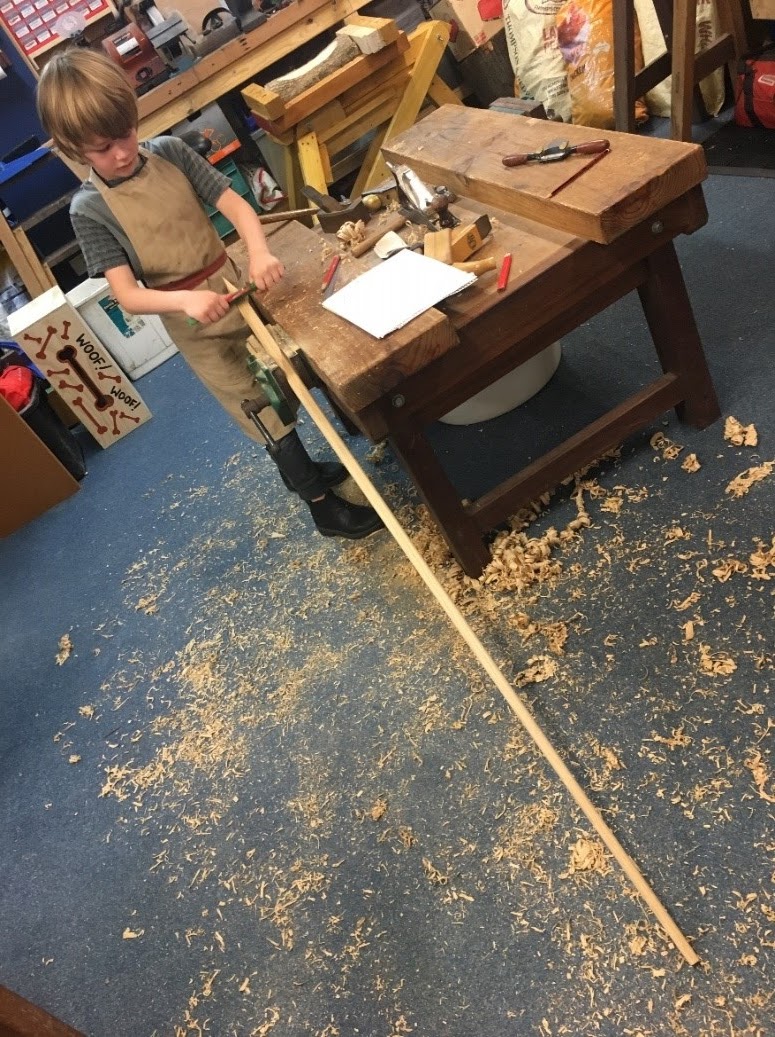
There is something delightfully primal and satisfying about starting with a fresh piece of tree, then using some simple ancient tools like an axe and a couple of knives to carve a functional individual spoon from that piece of wood.
2. We seek to re-engage with our innate need to be creative.
As people take up creative pastimes, they are scratching an itch deep inside - that basic human need to be creative with our minds and our hands, to express the inner longings of the soul. We long to make a difference and to see that expressed in tangible things. So much of what we do in our modern digital world has little to show for it.
You can bash away all day on a computer, but not have something tangible you can hold in your hands at the end of the day. You can go to endless meetings through a day, but not have accomplished anything tangible and tactile. You can be a cog in a machine, a part of a larger enterprise, meeting sales targets and Key Performance Indicators - but at the end of the day what do you personally have to show for your efforts? You could fall of the perch tomorrow and you will leave nothing much behind you. No meaningful legacy, not many tangible reminders of your brief existence on this planet.
In contrast, when a joiner builds a staircase, a gardener plants out a garden, or a mechanic re-builds a motor - each can say at the end "I did that" with contentment and pride. What they have done can be touched, looked at, used, enjoyed and experienced by others.
With so many people undertaking jobs and tasks which do not offer this lasting sense of accomplishment that can be viewed with the eye or touched with the hand, the return to hand crafts is providing a way to find meaning and a real sense of accomplishment. You can go to a shop and buy a new piece of furniture - or you can have a go at making a piece of furniture yourself, and feel the pride in having made it. It might be rougher than the store-bought one but you did it yourself. You learned things along the way, it structured your time in meaningful ways, gave you a sense of purpose, and gave you an opportunity to express yourself. The project helped fulfil your need to express yourself creatively.

The revival of interest in traditional wooden spoon carving via the Spoon Carving craze is offering a practical opportunity for people to express their creativity and to produce something which can be touched, viewed and enjoyed by others. Each spoon requires only a small investment in time, very little equipment, and is fun to make. Each wooden spoon being made provides an opportunity to creatively express ourselves, to nourish our inner artistic being, to develop our growing technical skill, and to even gain some affirmation from others around us. It is also a journey into simpler times, a taste of self-reliance - an almost primal experience as we craft something with our hands while expressing our creativity. So much satisfaction to be gained, and a nurturing of the soul.
The Spoon Carving Movement is providing a simple pathway and experience for many to use their hands and some basic tools, to express their creativity and produce things they can look at with satisfaction and say: "I made that". Each spoon is a creative expression of its maker.
- We seek to re-engage with our own bodies - to use our hands and minds.
There seems to be a gym on every corner in our suburbs these days. What does this say about us as a society? It reflects our current obsession with body image - combined with a growing awareness of the need to live more healthy lifestyles. While the gym-associated supplement industry feeds the extreme body image fad, the move towards greater activity with more healthy and less processed foods reflects a growing awareness of the need to live a more healthy lifestyle including a healthy diet. Two extreme ends of the spectrum!
As our lifestyles have become increasingly sedentary, the rush to gym membership provides a way to appease our guilt that we should regain some muscle tone somehow. Too many of us sit all day at desks on computers, then get in our cars to drive home were we sit in front of our TVs or computer games, or sit in our chairs poking touch-screens on our devices with our fingers. The loss of muscle tone corresponds with the diminishing stimulation and use of too many parts of our brains as well as our bodies.

In contrast hand crafting, including Spoon Carving, connects our brains to our fingers, to many muscle groups, and to other parts of our bodies. Most people, after their first go at spoon carving- whether with axes and knives, or with mallet, gouge and spokeshave - will complain of aching arms, hands and fingers. Their body is talking to them. In time, over more spoons, the sensation of physical tiredness is replaced with an awareness of the growing strength in the hands, arms and fingers. Combine this with the increasing sense of personal satisfaction in the skills being learned and demonstrated, the growing inner sense of accomplishment, the increasing affirmation of others, and we have the ingredients for a beneficial past time. While sitting in a chair carving spoons with a knive is still relatively sedentary, so many other physical and mental benefits flow from this activity. Funnily enough, the growing time spent carving spoons commonly corresponds to a reducing time aimlessly sitting staring at our digital devices!

Spoon carving exercises our minds through the planning, decision making and problem solving processes. These take place during the whole process of the making of a spoon, as we map out and undertake the sequences of making, moving back and forth between the handle and the bowl, working with complex curves, transitional zones and even contrasting finials. Meanwhile the brain is trying to direct the complex array of muscle movements in the fingers, arms and upper body - as with tools in hand we try to replicate an image in our minds. An overcut here, a hidden knot there, a crankier-than-anticipated bit of grain there, and the problem solving process further exercises the mind again.

Just as physical exercise is well know for being beneficial for our mental health, so is being creative with our hands. The physical and mental health benefits which spoon carving offers is often underestimated. We like to joke that spoon carving is addictive - but it is no joke. It is true. So may good things are happening for us that the endorphins are pumping around in our bodies giving us many pleasurable sensations.
In my experience hand crafting, including spoon carving, is a wonderfully therapeutic activity, strangely meditative in nature despite the busyness of the mind and the hands. The therapeutic benefits are further multiplied when we engage in these activities together.
- We seek to re-engage with others.
Social Media promises to connect us together better. However all too often these platforms actually divide us by keeping our connections shallow and by making sure we mostly only connect with like minded people. The algorithms behind the scenes ensure we remain in echo-chambers of like-mindedness thus denying the opportunity to be challenged and stimulated by engagement with people who may see and experience the world through a different window. The depth in the word "friend" is being lost to a shallow notion of connectedness.
In our cities, suburbs and towns the disconnect with others has been growing too. This has gradually crept up on us over the last couple of generations particularly, as our houses and homes have become secure bunkers with microclimates within their walls, in defiance of the weather outside. The arrival of the television in every home pulled us into our loungerooms. More recently, the digital device and our obsession with them has rapidly accelerated our disconnect with people around us. We don't even have eye contact anymore, as we stare down at our devices in trains and buses, waiting rooms and lifts, cafes and other public places. Head phones have further separated us from one another.

This increasing lack of engagement with others is one of the drivers behind the resurgence of interest in handcrafts. For despite this socially gloomy inward journey, many people are wanting - if not longing - to push back against this growing divide between us. People are coming together to sew together, to knit and to do blacksmithing. People are coming together to form Book Clubs, gardening groups, choirs, craft groups and walking groups. There have always been clubs and associations, which in recent years had often faced declining memberships, however many of the new gatherings are not necessarily formalised either. People are finding ways to re-engage with others around similar interests, and the handcrafts provide a wonderful vehicle for this with all the other benefits they offer.
Amid this social phenomena people are learning from one another, inspiring one another and sharing ideas and information. People are talking to one another, getting to know each other, and feeling less lonely. In the madness of our often busy and stressful lives, people are finding time to be creative together, to nourish their souls and nurture the souls of others. We are building community.
Within this fascinating social movement there are Spoon Carving groups popping up all over the Western World. People are gathering on a regular or adhoc basis to carve spoons together. While spoons are fun, whether practical implements or art pieces in themselves, it is not really about the spoons. There is much more going on than that...
Do we really need more spoons?
The spoon carving movement is meeting the needs of many to rediscover the delights of handling natural materials, and to work with those materials using our own hands and just a few simple tools. It is providing opportunities for people to be more physically active, even if in only a gentle way - to feel the satisfaction of tired muscles and an awareness of growing physical strength in our hands and arms. It is providing stimulus for our minds and food for our brains.
The spoon carving movement is helping people to find a creative expression for themselves while gaining the affirmation and encouragement of others. It is helping us to connect with others in the midst of our disconnected and increasingly polarised society. When we carve spoons together using hand tools, we can talk and laugh together, "chew the fat" and share our life stories.
When we carve spoons together, we are often building community - one spoon at a time.
Do we really need more spoons? I would suggest the answer is clear...
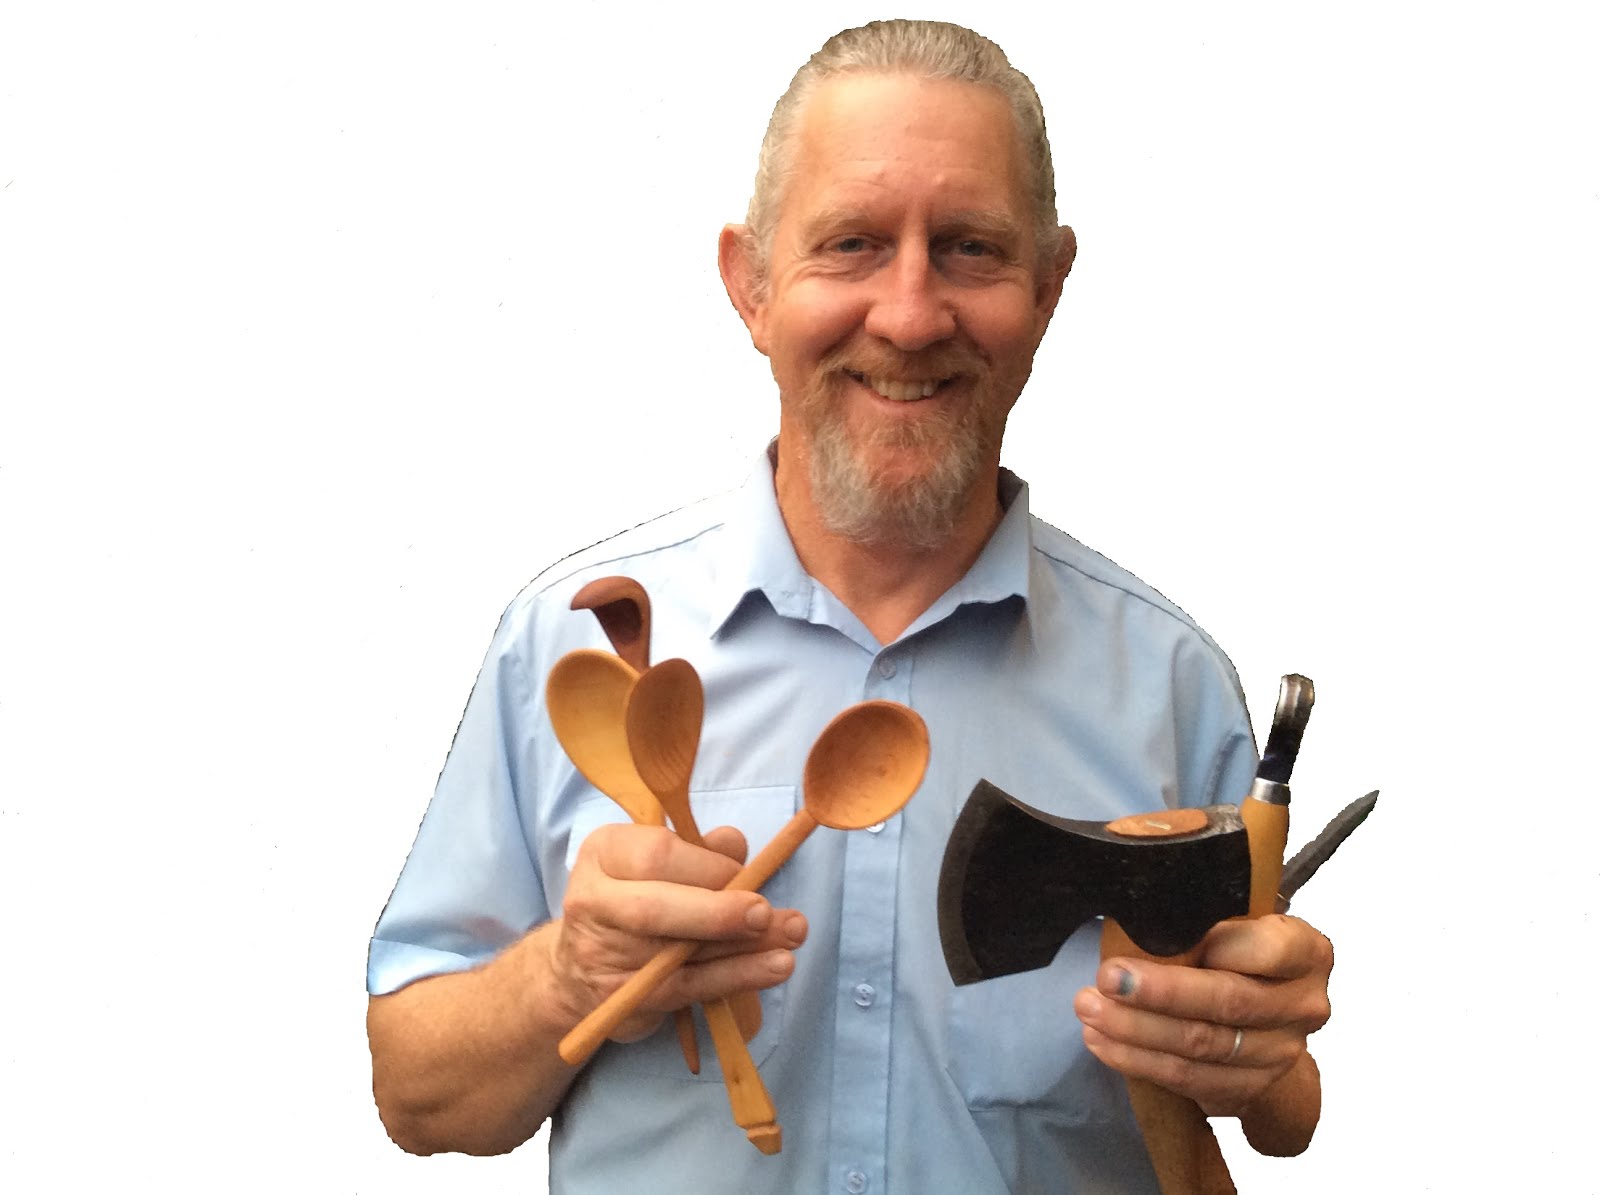
We at The Joy of Wood we really enjoy Spoon Carving.
At our Heritage Woodcraft Centre we run many spoon carving workshops, in both the Green Wood tradition and the techniques we use to work with seasoned hardwoods. The former is a great way to recycle tree prunings from parks and gardens. The latter is a wonderful way to recycle pre-used wood derived from buildings, floors and furniture.
Our
Heritage Woodcraft Centre is the only place in Perth, Western Australia which specialises solely in teaching traditional woodworking hand skills and techniques. Nothing electric - just those hand tools and skills which have worked well for centuries.
We understand the personal therapeutic, social and community benefits of Spoon Carving.
Please come and join us in this pleasurable activity sometime!
.jpg)